With my newfound knowledge of Adobe Illustrator and the lasercutter came the opportunity to learn how to use a CNC milling machine. I was fortunate enough to attend Stockton University which has both of these machines on campus.
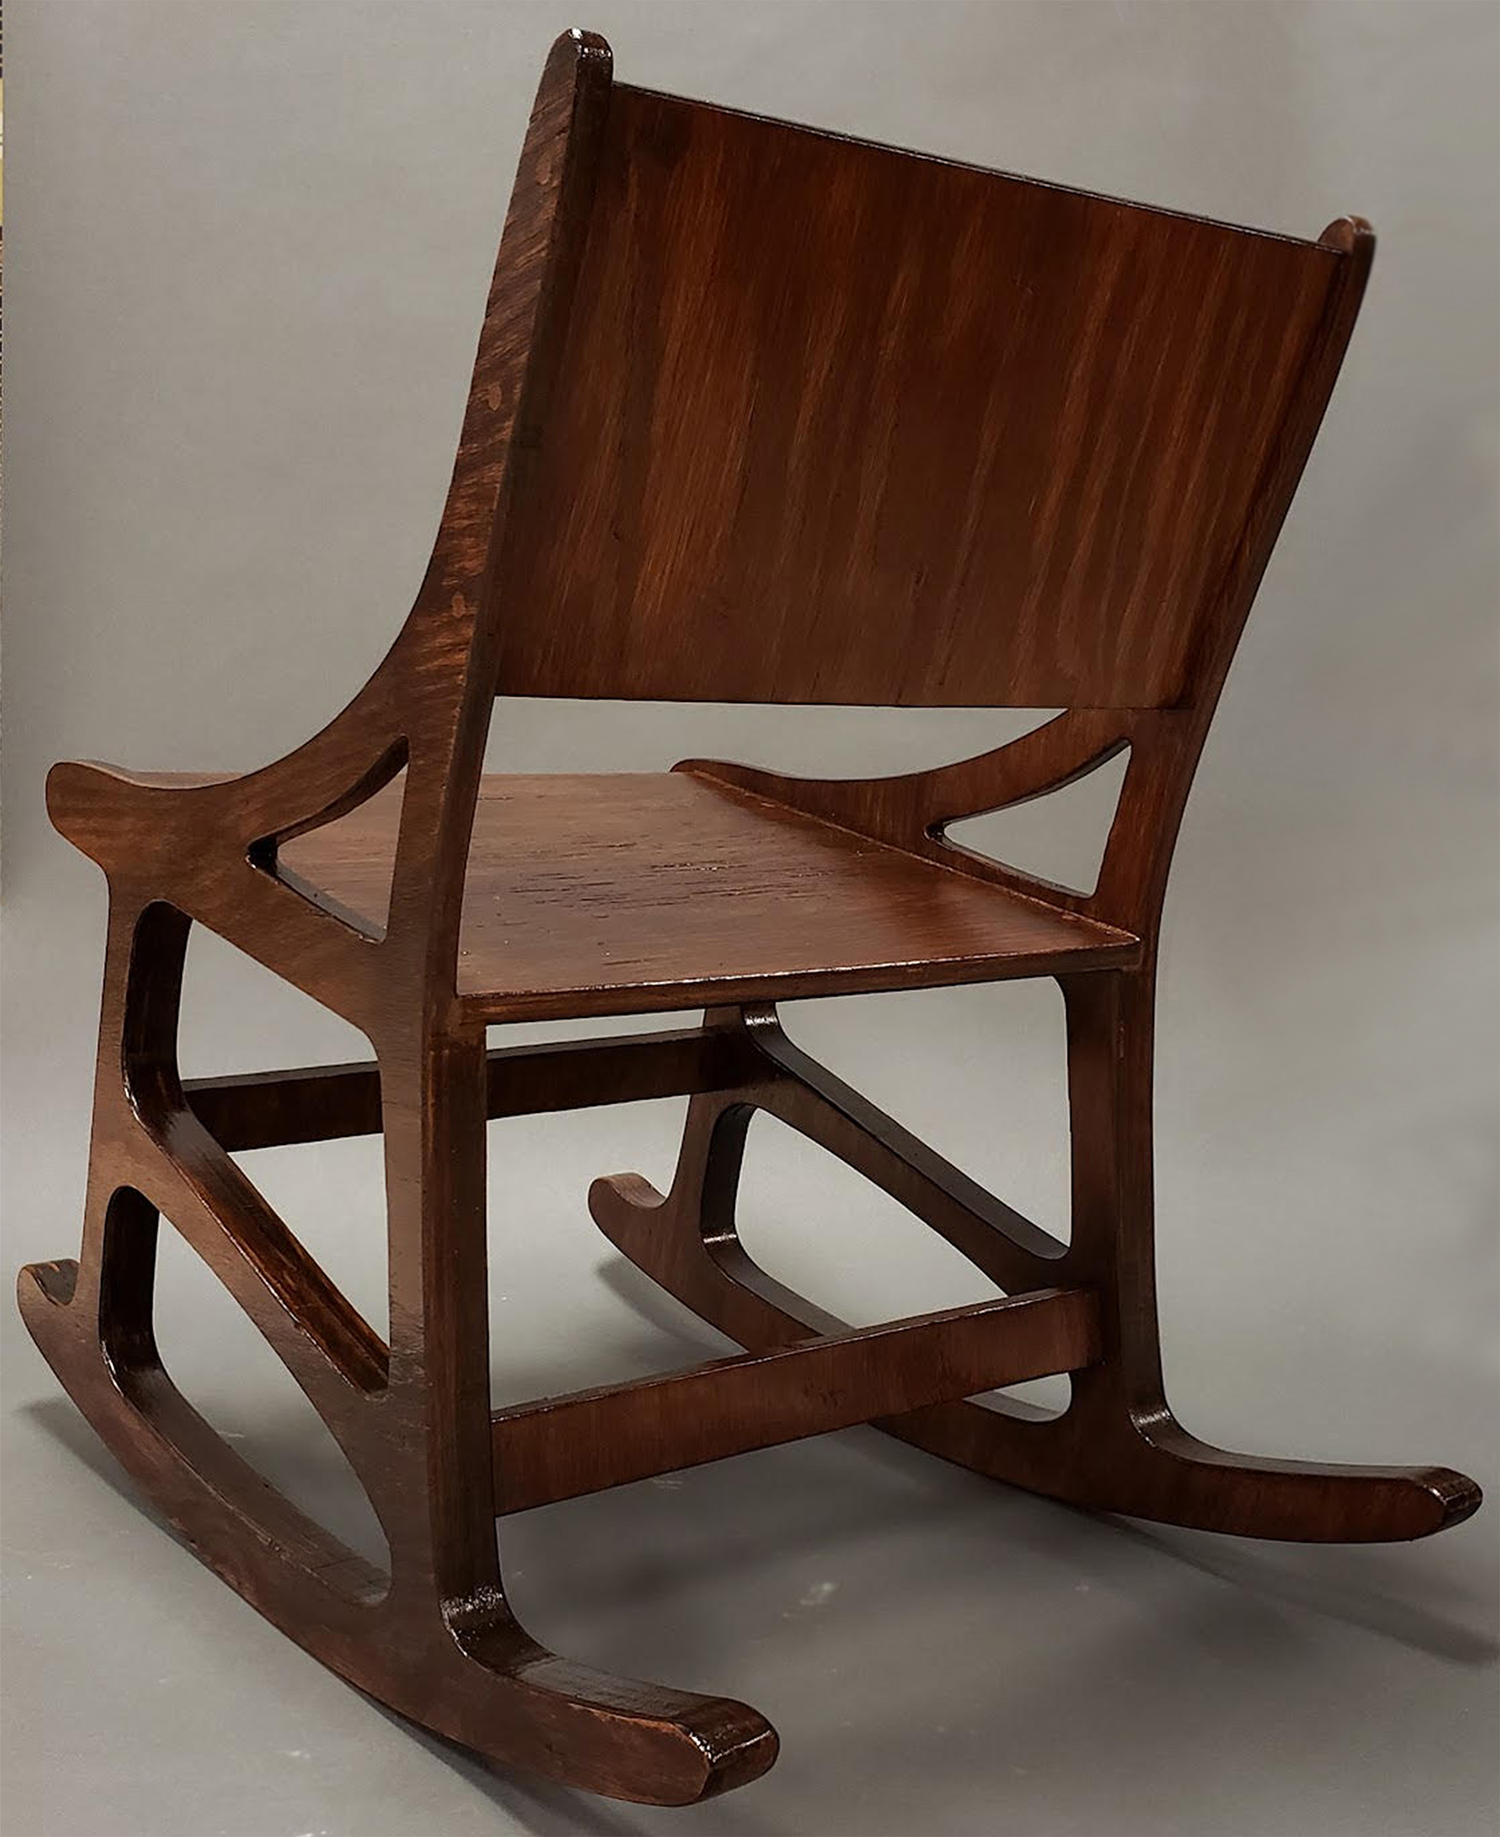
First, I designed a chair in my sketchbook. Next, I recreated that chair sketch on Adobe Illustrator, this time with the correct proportions and measurements. Then, I separated each flat plane of the chair so it would lie two dimensionally. With these flat shapes, I could then convert the file into .svg format and run it through the lasercutter. I lasercut the 2D shapes from cardboard and assembled them into my first 3D chair prototype. After seeing my first prototype I had plenty of issues that simply could not be realized from viewing as 2D. I edited my 2D shapes and build new 3D prototypes several times before coming to a design that I was happy with and could be built seamlessly. Now, with my final edits, I increased the size of each 2D shape in Adobe Illustrator to match the dimensions that I wanted my actual chair to be. I took this resized file to the CNC milling machine and it cut my shapes out of wood for me. Now, I could move on to the building process. I sanded and stained each 2D piece of my chair. Then, I was able to glue and screw the pieces together. After that, I used wood filler to cover up the holes left from the screws. Finally, it was finished and I could sit back and relax in my new chair!
Leave a Reply